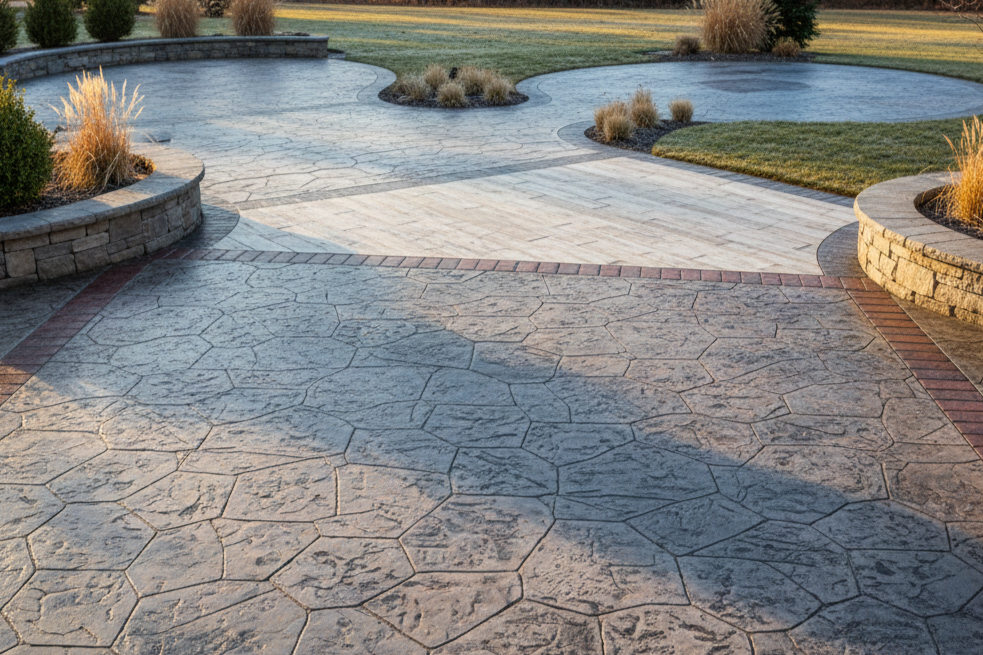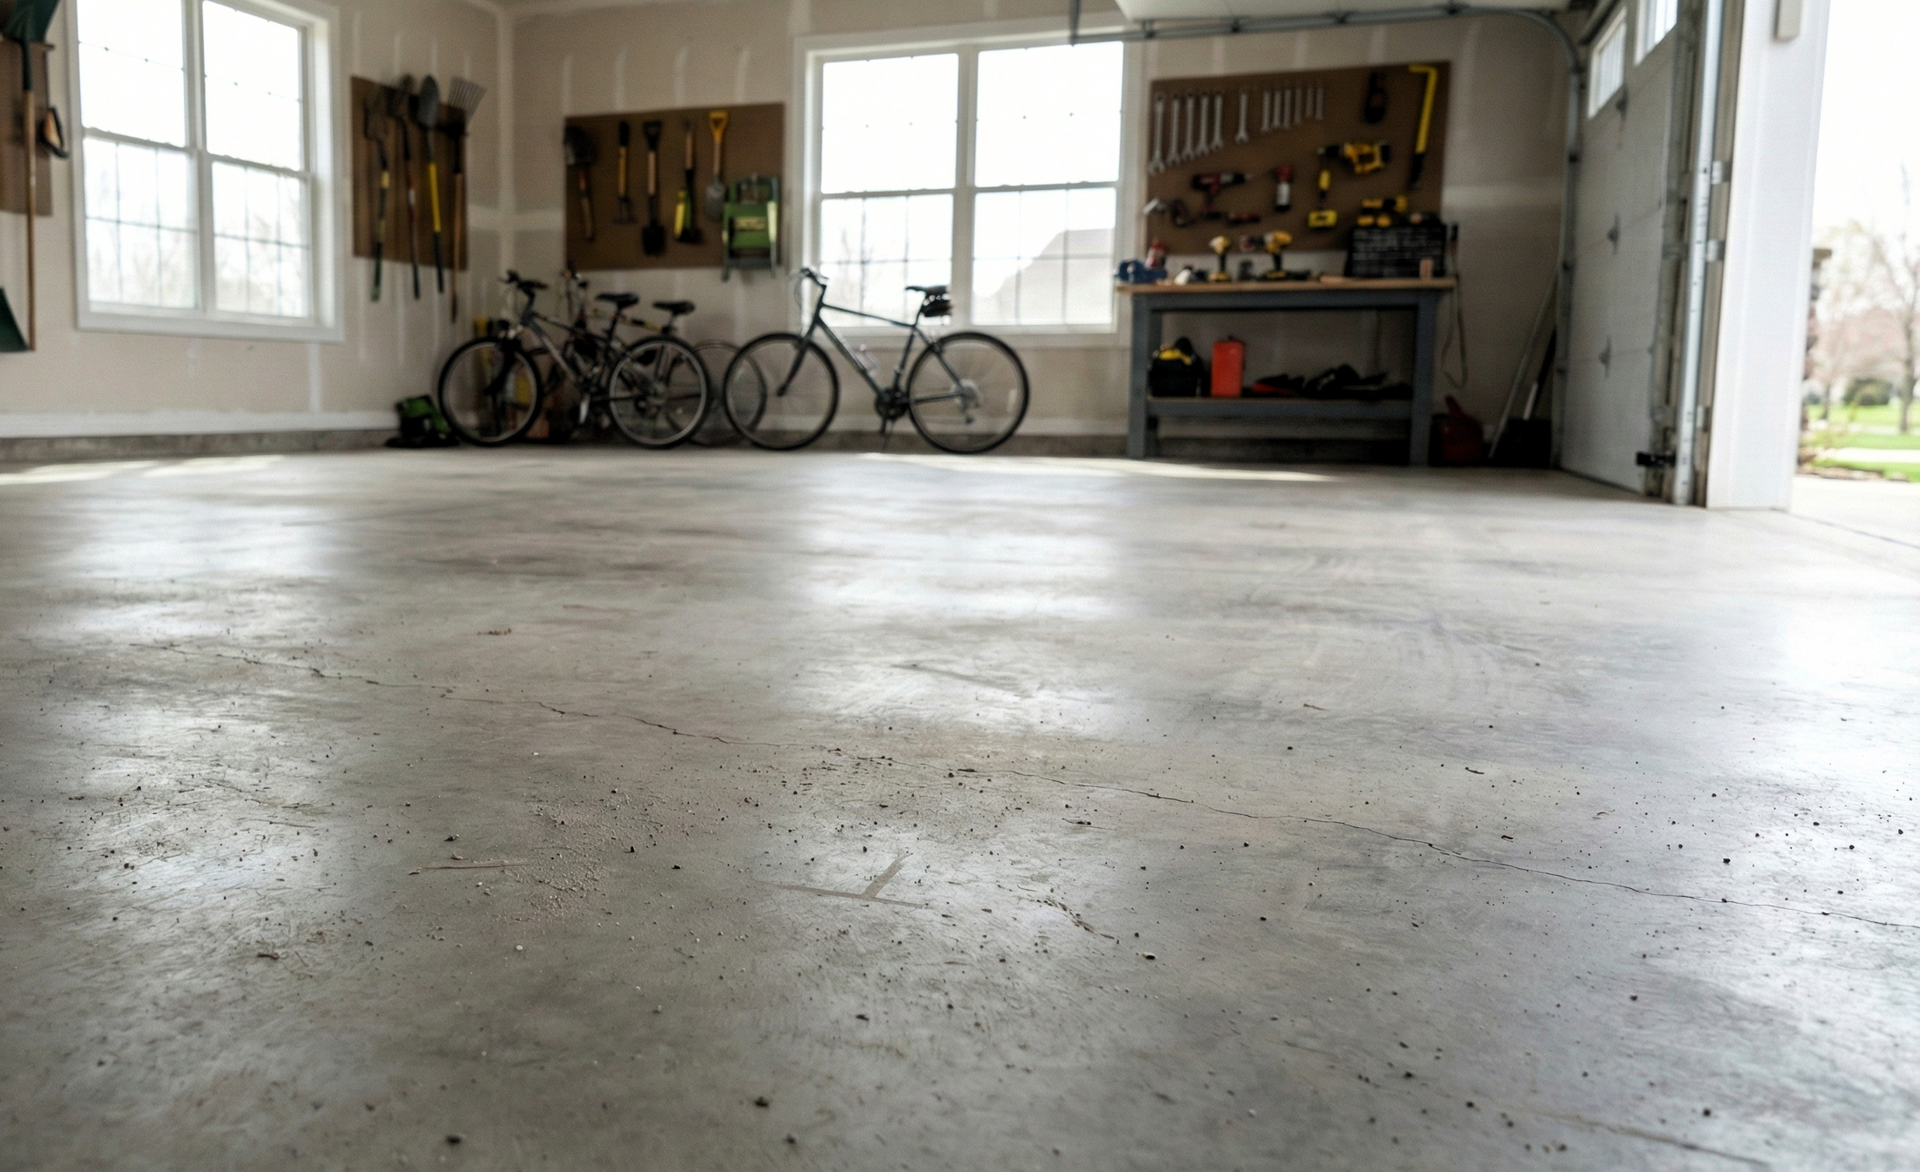


How to Polish Concrete Floors

Polishing concrete floors is a great way to add shine and durability to your flooring. Not only does it make the surface look attractive, but it also helps protect the underlying concrete from damage caused by wear and tear. Polishing concrete floors can be done with professional equipment or DIY tools, depending on how much of a shine you want to achieve. In this article, we will discuss the steps involved in polishing concrete floors as well as the equipment needed for each step.
Now, let’s jump into some step-by-step instructions for polishing concrete floors.
Step 1: Removing Cracks & Defects
Before you can start polishing, it’s important to remove any cracks or defects that may be present in the concrete. Use a shop vac to vacuum any dust and debris that has accumulated on the surface of the concrete. Once the area is free from dirt and debris, you can use a diamond grinding machine to smooth out any cracks or defects.
Step 2: Grinding & Smoothing Surface
Once you’ve repaired your surface, it’s time to begin grinding and smoothing the surface of the concrete. You will need a grinder and diamond discs. Diamond discs will help you achieve a smooth surface, while the grinder will be used to grind and polish the concrete. Start with a coarse diamond disc, then move up in grit as you progress.
If you aren’t sure about the hardness of your concrete, you can always perform a scratch test to determine the level of hardness.
To begin your diamond disc project, you'll need the right tools. Start off with a 40-grit and work your way up to the desired level of grit. Then simply follow these steps:
- Make a slow, thorough perimeter pass first.
- Proceed to the central area.
- Move very slowly and methodically.
- Let the grinder do the grinding. All you have to do is guide it.
Tip: Keep an open eye for resin burning, which is usually manifested by a slightly darker color in the concrete. Resin burning occurs when the diamond disc overheats and melts the resin in the concrete, causing it to look darker. To prevent this from happening, make sure your grinder stays cool and move it in slow circles over the surface of the concrete.
Step 3: Applying a Concrete Densifier
After grinding and smoothing the surface of your concrete, it’s time to apply a concrete densifier. A concrete densifier is a sealer that penetrates the pores of your concrete and
helps protect it against staining and everyday wear and tear. To apply the densifier, use a pump-up sprayer or roller. It’s important to use an even coat on the entire surface of the concrete.
Step 4: Polishing the Surface
Once the concrete densifier is dry, you’re ready to begin polishing. You will need a polisher and diamond pads for this step. Start with a low-grit pad and work your way up to high-grit pads until you achieve the desired level of shine on your concrete floor. Keep in mind that the higher the grit, the more glossiness.
Tip: When polishing your concrete floors, remember to use an even pressure and a slow speed. This will ensure you achieve a nice finish without causing any damage to the surface of your concrete floor.
Step 5: Sealing & Final Polish
Once you’re happy with the shine and gloss of your concrete floor, it’s time to apply a sealer to protect it from staining. For best results, use a two-part epoxy or urethane sealer. Apply the sealer using a pump sprayer or roller and allow it to dry completely before applying a final polish.
Once the sealer is dry, you’re ready to apply the final polish. Use a high-speed polisher and diamond pads to achieve a mirror-like finish. Remember to move in slow circles and keep an eye out for any discoloration that may occur due to overheating of the diamond pads.
After the final polishing, you’re done and ready to enjoy your
beautiful polished concrete floors!
You might also like
Grand Rapids Concrete Pros Blog